
Why Your Keurig Coffee Tastes Burnt: Causes & Solutions
Ah, your Keurig Coffee Maker. You love it, you cherish it, and you hopelessly rely on it. So, when your morning cup suddenly tastes burnt or bitter, it can throw off your whole day.
If you’ve noticed an unpleasant charred taste coming from your Keurig, you’re not alone. While the issue can be frustrating, the good news is that it’s often easy to identify and fix. It might be as simple as burnt coffee beans or an unclean hot water tank.
Let’s explore the most common reasons Keurig coffee tastes burnt, how to troubleshoot the problem, and what to do if cleaning doesn’t work.
We’ll also share tips for maintaining your Keurig coffee maker so you can get the best flavor from every cup.
Common Reasons Your Keurig Coffee Tastes Burnt
If your coffee pot is giving you a burnt or plastic taste despite using a light-medium roast, it might come down to mineral buildup or a faulty part. Here are the most common reasons:
Mineral Buildup Inside the Machine
Over time, mineral deposits from water (especially hard water) can accumulate inside your Keurig’s internal components. These deposits can interfere with temperature control, clog water flow, and impact the flavor of your coffee.
The result? A bitter, burnt taste even when using quality coffee and filtered tap water.
The Coffee Itself
Sometimes, the issue isn’t the machine; it’s the coffee. Some K-Cups use dark roast coffee that naturally has a smoky or burnt flavor profile. If you’re using your own ground coffee, an overly fine grind or overpacked filter can also cause over-extraction, which leads to bitter, unpleasant tastes.
Coffee Oil and Residue Build-Up
Every cup of coffee leaves behind tiny traces of oil and residue. If not cleaned regularly, these leftovers can coat the needles, internal tubes, and brew basket, leading to stale or scorched flavors that intensify with time.
Water Temperature Issues
Keurig machines are calibrated to brew at around 192°F. If something’s gone wrong with the thermostat, pump, or water filter, the water may heat past the optimal range. While rare, this can “scald” your coffee grounds, creating a burnt or ashy aftertaste.
How to Fix Keurig Coffee Tasting Burnt
If your Keurig keeps making burnt coffee, you’ll have no option but to take out your old French Press and make coffee the old way again.
Or, you’ll start drinking store-bought cold brew, and we all know that doesn’t taste as good as homemade coffee.
If you don’t want that to happen, try the following steps for fixing your coffee maker:
Step 1: Descale Your Machine
Descaling is your first and most important step. Mineral deposits and scale in the reservoir tank are the most common causes of off-tasting coffee.
You’ll need either a Keurig-approved descaling solution or a simple 1:1 mix of distilled white vinegar and water.
- Empty the water reservoir.
- Fill it with your descaling solution or vinegar mixture.
- Run several brew cycles (without a K-Cup) to push the solution through the machine.
- Let the machine sit for 30–60 minutes to dissolve internal buildup.
- Rinse by running clean water through multiple brew cycles until there’s no vinegar smell.
Step 2: Clean the Needles and Brew Basket
Coffee residue often clings to the puncture needles and brew chamber. To clean them:
- Power off and unplug the machine.
- Use a paper clip or needle-cleaning tool to gently remove debris from the entrance and exit needles.
- Wash all removable parts (drip tray, reservoir, K-Cup holder) with warm, soapy water.
Cleaning these components every few weeks can help prevent buildup that contributes to burnt flavors.
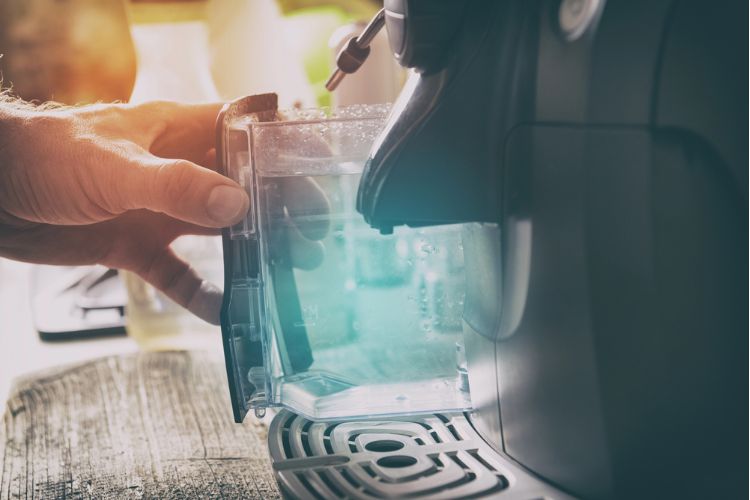
Step 3: Use Better Water
If you’re using tap water, especially in areas with hard water, consider switching to filtered or bottled water. This reduces scale buildup and can noticeably improve flavor clarity.

Step 4: Evaluate Your Coffee
If you’re using refillable K-Cups or your own ground coffee, check these:
- Grind size: Keurigs work best with a medium or medium-coarse grind. Fine espresso-like grinds can clog the filter and lead to over-extraction.
- Roast level: Some dark roasts naturally lean toward bitter or burnt notes. Try a medium or light roast to see if the taste improves.
- Brand: Not all K-Cups are created equal. If the bitterness persists with a specific brand or batch, the problem could be with the coffee, not the machine.
Step 5: Don’t Overpack the Refillable Pod
If you’re using a reusable filter, resist the urge to pack it tight. Overfilling slows down water flow and leads to over-extraction, which can result in a burnt taste.
When Cleaning Doesn’t Help: Malfunctioning Components
If you’ve cleaned and descaled your machine thoroughly but the burnt flavor remains, it’s possible that a hardware issue is to blame. Common culprits include:
- Faulty pump motor: A weak or malfunctioning pump can cause inconsistent water flow or overheating.
- Thermostat problems: If the water is brewing too hot, the coffee will taste burnt.
- Internal clogs or damage: Especially if the machine hasn’t been maintained, internal components may be blocked or degraded.
Unfortunately, Keurig doesn’t sell internal replacement parts directly to consumers, making repairs difficult. If your machine is still under the one-year warranty, reach out to Keurig support for a replacement. Otherwise, it might be time to retire the machine and upgrade.
Tips for Keeping Your Keurig in Peak Condition
To prevent burnt coffee in the future, regular maintenance is key. Here’s how to keep your Keurig brewing clean, fresh-tasting coffee every time:
- Descale every 2–3 months (more often if you have hard water)
- Clean the needles monthly
- Wash the removable parts weekly
- Use filtered water
- Don’t leave used K-Cups sitting in the machine
- Let the machine cool between brews if making multiple cups back-to-back
These small habits can go a long way in extending your Keurig’s lifespan and maintaining a consistent flavor profile.
The Final Scoop
If your Keurig coffee tastes burnt, don’t give up on your morning brew just yet. In most cases, the solution lies in a good cleaning routine and proper care.
Start by descaling and cleaning your machine, evaluate your coffee choice and grind size, and use high-quality water. If the problem still doesn’t go away, it might be a mechanical issue, at which point a warranty claim or replacement is your best bet.